Photoshop ~Somewhere~
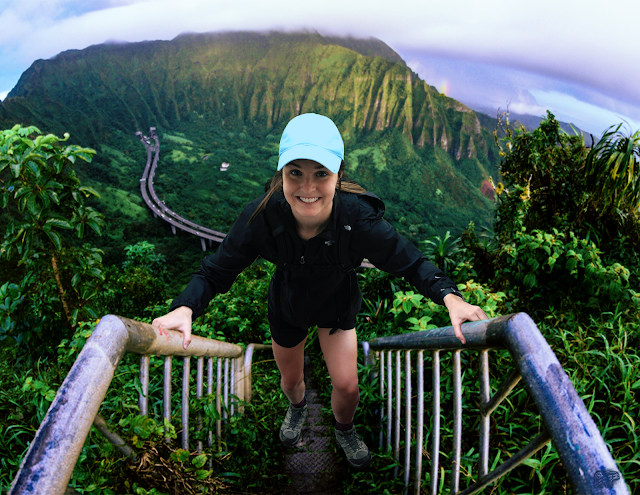
Photoshop ~Somewhere~ Somewhere, a place that we were asked to place ourselves. The purpose of this piece is to put ourselves in an area that we would love to be or haven't been. Above, is a picture of me, while wearing some hiking gear, placed on the Stairway to Heaven Hike on O'ahu, Hawai. I chose this photo because I love the outdoors. If there were an opportunity, whether it be to adventure and capture Hawaii's beauty, to have a summer internship, or to somehow be there for a few months, I would take that opportunity in a heartbeat. I love the ocean because I have lived near it for the past four years, and I also love the mountains. Therefore, Hawaii is the perfect scene for me to be. Over the years, I have seen this hike advertised. It has been at the top of my list since. HOWEVER, while scrolling through google to find this fantastic exposed photo (thank you to whoever took this, you allowed me to practice my photoshopping techniques), I discovered th...